SketchRay Tutorials > Creating complex multi-layered fractal images
Creating layered fractal images with SketchRay
This tutorial will show you how to create a complex layered fractal image from scratch. Below is the final image created in this tutorial. Your final image may look somewhat different depending on what zoomed-in part of the Mandelbrot Set fractal you end up using.
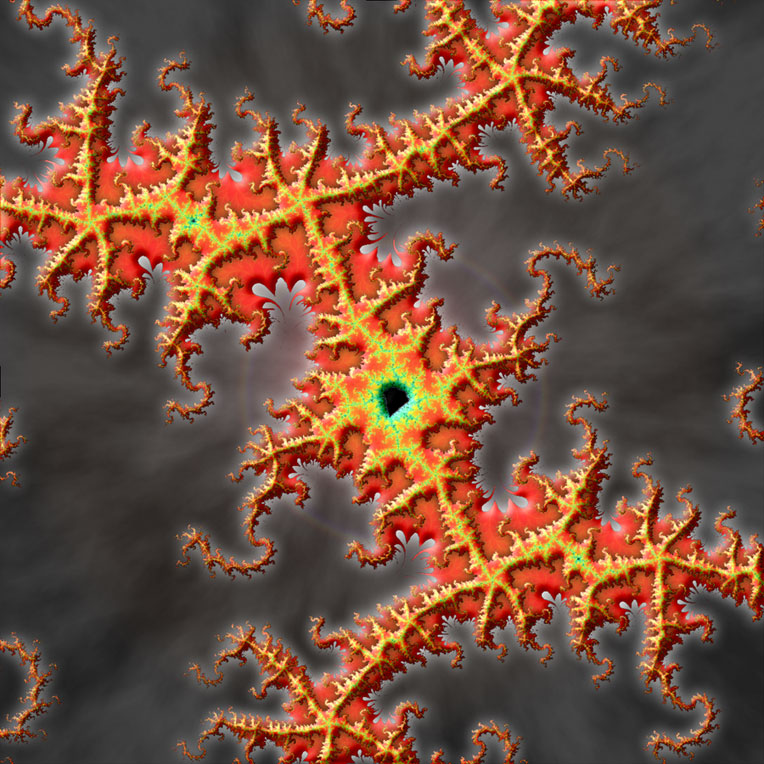
Final Image |
|
Step 1
FIrst create a new blank image.|
|
|
|
Step 2
I am choosing to create a square image at 1200x1200 pixels, but you can really use any size that you want.|
|
|
|
Step 3
Here is my new, square image.|
|
|
|
Step 4
Next, fill the background with black using the fill tool.|
|
|
|
Step 5
Create a new layer. This will be our first fractal layer.|
|
|
|
Step 6
Now choose the Fractal Explorer Filter.|
|
|
|
Step 7
When the Fractal Explorer filter opens initially, it will be displaying the fully zoomed-out regular Mandelbrot Set. You can also choose to use the cubic Mandelbrot set. Here I will use the regular one.|
|
|
|
Step 8
Play around with the Fractal Explorer until you find a nice zoomed-in view that you like. This view is the result of several zooms.|
|
|
|
Step 9
Now move the color slider until you get a high contrast between the main body of the fractal and the background, like this. We want to start off with a fairly large main body, as we'll make it smaller for the next layer.|
|
|
|
Step 10
After Fractal Explorer filter. Now we need to remove all those dark "background pixels" from this layer.|
|
|
|
Step 11
Double click on the marquee selection tool icon to bring up its options dialog.|
|
|
|
Step 12
If Marquee Style is not already set to "Magic Wand", choose "Magic Wand" from the dropdown.|
|
|
|
Step 13
Set a fairly high tolerance and make sure "Contiguous" is unchecked.|
|
|
|
Step 14
Close the options dialog and click somewhere in the dark area outside the main body of the fractal. You should get a selection something like this which encompasses all the dark pixels in the fractal image.|
|
|
|
Step 15
Choose "Clear" from the Edit menu, or simply hit the delete key on your keyboard to clear out all the selected pixels.|
|
|
|
Step 16
After clearing the selected pixels the plain black of the background should show through.|
|
|
|
Step 17
Get rid of the marquee selection by choosing "Deselect All" from the Select menu.|
|
|
|
Step 18
Now create another new layer. This will be our second fractal layer.|
|
|
|
Step 19
Choose the Fractal Explorer filter again.|
|
|
|
Step 20
When the Fractal Explorer filter dialog opens, it should retain the same settings from the first application of the filter.|
|
|
|
Step 21
Move the color slider slightly to make the bright body area of the fractal smaller.|
|
|
|
Step 22
After applying the Fractal Explorer filter to the second layer.|
|
|
|
Step 23
Again we need to delete the darker background area from the fractal in this second layer. Click in the darker area with the marquee selection tool to create a selection.|
|
|
|
Step 24
Choose "Clear" from the Edit menu, or simply hit the delete key on your keyboard to clear out all the selected pixels.|
|
|
|
Step 25
After clearing the selected pixels.|
|
|
|
Step 26
Choose "Deselect All" from the Select menu to remove the marquee selection.|
|
|
|
Step 27
Now we will apply some dynamic effects to the fractal layers. With Layer 2 still selected, choose "Layer Properties..." from the Layer menu or simply double click on the name of the layer.|
|
|
|
Step 28
This opens the properties dialog for Layer 2, where we will apply dynamic layer effects such as adding a bevel and shading in the next steps.|
|
|
|
Step 29
First, turn on the Drop Shadow checkbox, set the distance to zero, and increase the softness until you get a nice shading around the edge of Layer 2. This provides a nice visual separation between the two fractal layers.|
|
|
|
Step 30
Next, turn on the Bevel checkbox and adjust the bevel size and softness controls to create a nice 3D effect on the top fractal layer.|
|
|
|
Step 31
After applying drop shadow and bevel effects to the top fractal layer.|
|
|
|
Step 32
Next we'll add some effects to the bottom fractal layer. Click on "Layer 1" in the layer list to select it.|
|
|
|
Step 33
Choose "Layer Properties..." from the layer menu (or double click on Layer 1 in the layer list) to open the layer properties dialog for the bottom fractal layer.|
|
|
|
Step 34
Turn on the Bevel checkbox and adjust the bevel size and softness controls to give the bottom fractal layer a nice 3D effect as well.|
|
|
|
Step 35
Because this layer is over a black background, we'll add a soft white glow around the edges instead of a drop shadow. Turn on the Glow checkbox and select white for the glow color.|
|
|
|
Step 36
Adjust the softness control until the glow around the edges of the bottom fractal layer looks good to you.|
|
|
|
Step 37
After applying bevel and glow to the bottom fractal layer.|
|
|
|
Step 38
Notice that after applying the glow to the bottom layer, the small black area in the middle of the fractal is showing the white glowing effect inside. I don't really want this so I will fill it in using the fill tool.|
|
|
|
Step 39
This is after selecting the fill tool and filling the little Mandelbrot-shaped area in the middle of the fractal with black.|
|
|
|
Step 40
Next, let's add some interest to the background. Click on the "Background" layer in the layer list to select it, and then create a new blank layer right above it.|
|
|
|
Step 41
We'll use this new layer to add sort of a glowing hazy background. To do this, start by selecting the Clouds filter.|
|
|
|
Step 42
Here are the results of running the Clouds filter. This filter produces a different random result every time, so you can re-run it a few times until you get a result you like. We'll get rid of the blue in the next step.|
|
|
|
Step 43
To make the clouds into a grayscale image instead of being blue and white, choose "Hue/Saturation..." from the Image menu.|
|
|
|
Step 44
This opens the Hue/Saturation dialog.|
|
|
|
Step 45
Now pull the saturation slider all the way to the left to remove all the color from the cloud layer.|
|
|
|
Step 46
After removing all the blue from the clouds, it is looking better, but it still looks very bright. To fix this, we'll lower the opacity of the clouds layer to blend it with the black in the background layer.|
|
|
|
Step 47
Once more, choose "Layer Properties..." from the Layer menu or double click on "Layer 3" in the layer list.|
|
|
|
Step 48
This opens the properties dialog for the cloud layer.|
|
|
|
Step 49
Now drag the opacity slider to the left until the clouds have blended wih the black background to become darker and more muted. Click OK when you are happy with the result.|
|
|
|
Step 50
Now we can merge the clouds layer down into the background layer itself by choosing "Merge Down" from the Layer menu.|
|
|
|
Step 51
After merging the clouds layer down into the background layer. Now it looks more like a light fog in the background.|
|
|
|
Step 52
When I found my zoomed-in fractal view in the Fractal Explorer, I made the focal point of the fractal centered in the image. To draw more attention to that, let's add a couple more effects to the background. First we'll run the Vacuum filter.|
|
|
|
Step 53
Applying the Vacuum filter to the background makes all those clouds look like they are being sucked towards the center of the image.|
|
|
|
Step 54
And finally we'll add a little glow in the center of the background with the Lens Flare filter.|
|
|
|
Step 55
If the light source of the Lens Flare filter is centered, it will just produce a single, centered glow with a halo, which is what we want here.|
|
|
|
Step 56
And here is the result after applying the Lens Flare Filter. This looks like a good stopping place for this image.|
|
|
|
And here's the final image...
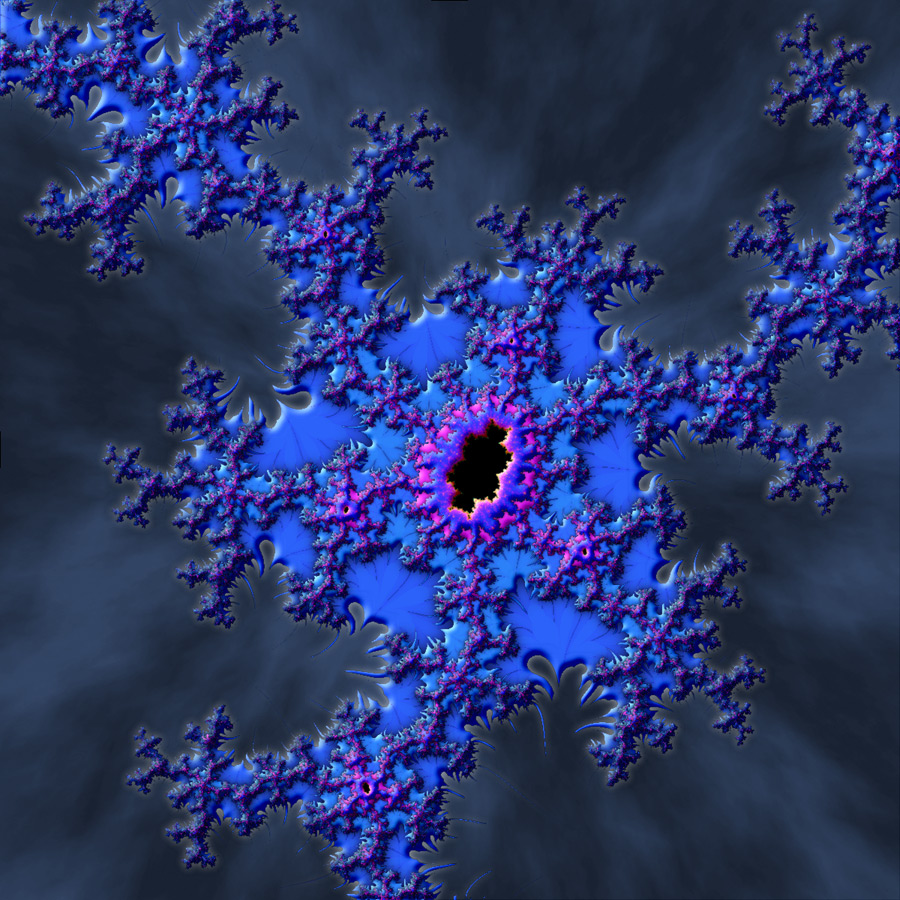
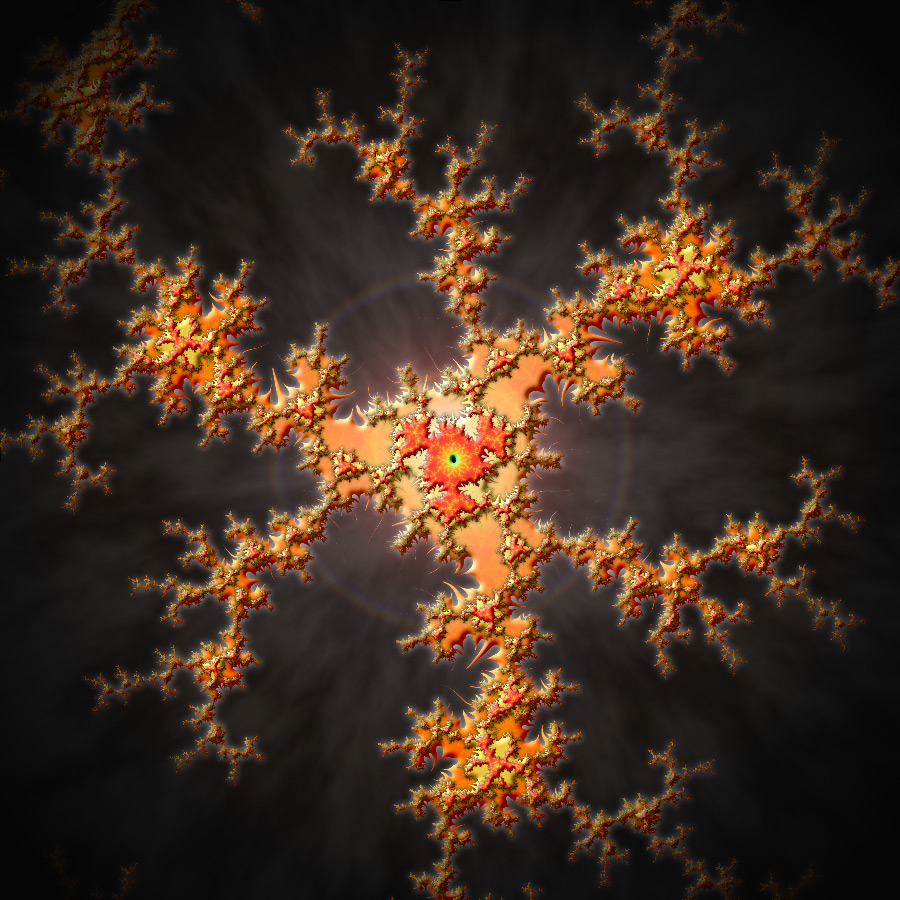
You can make even more complex layered fractal images by creating three or four fractal layers instead of two, and by adjusting the color of each fractal layer using the Hue/Saturation and Color Balance dialogs. See examples of other layered fractal images created in SketchRay.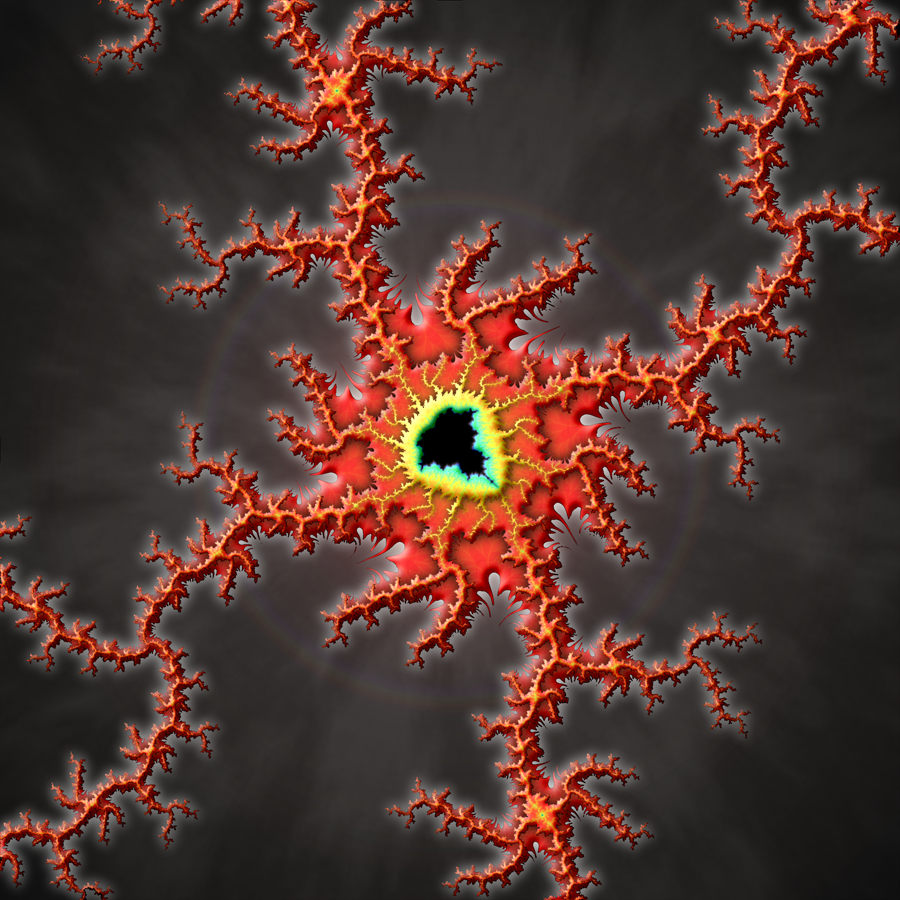
|
|

|