SketchRay Tutorials > Creating abstract art with SketchRay's filter effects
Creating abstract art with SketchRay's filter effects
This tutorial will show you how to transform a photograph into a piece of stunning abstract artwork with a three dimensional quality. Below are the before and after images for this tutorial. You can right click (windows) or ctrl-click (mac) on either of these images to download them at full resolution.
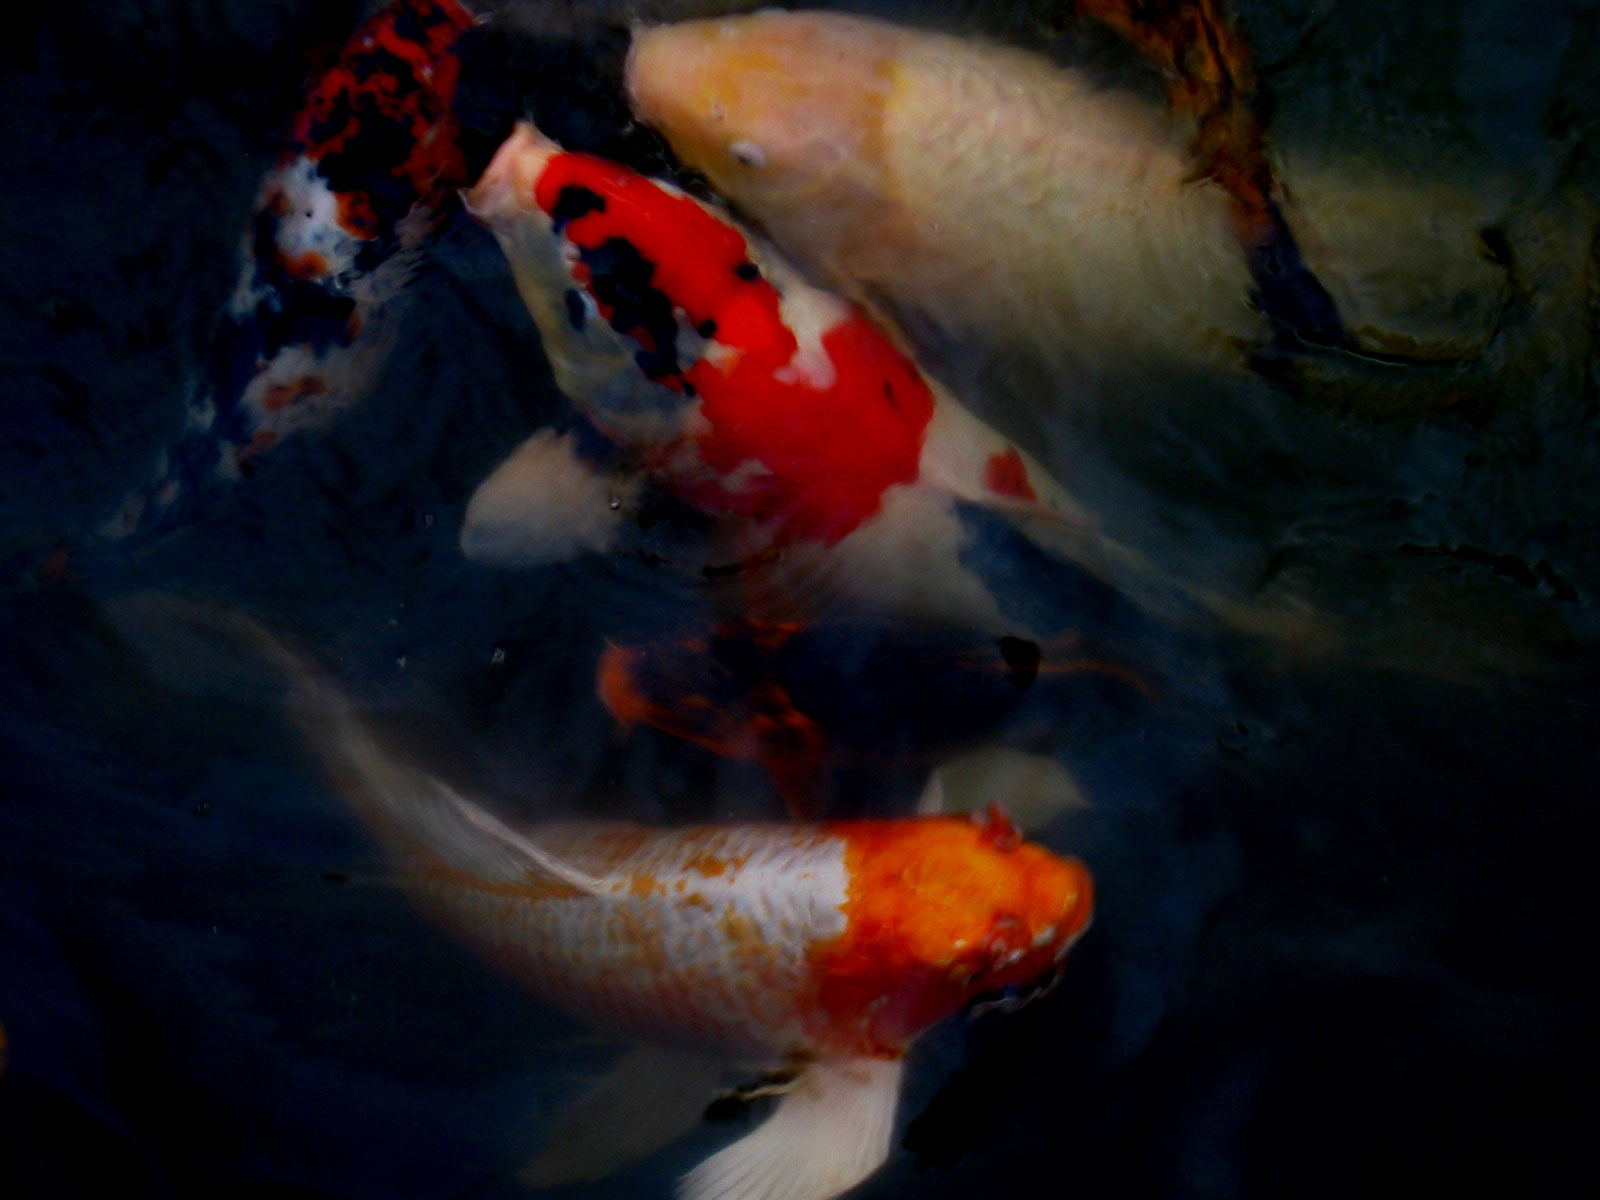
Before |
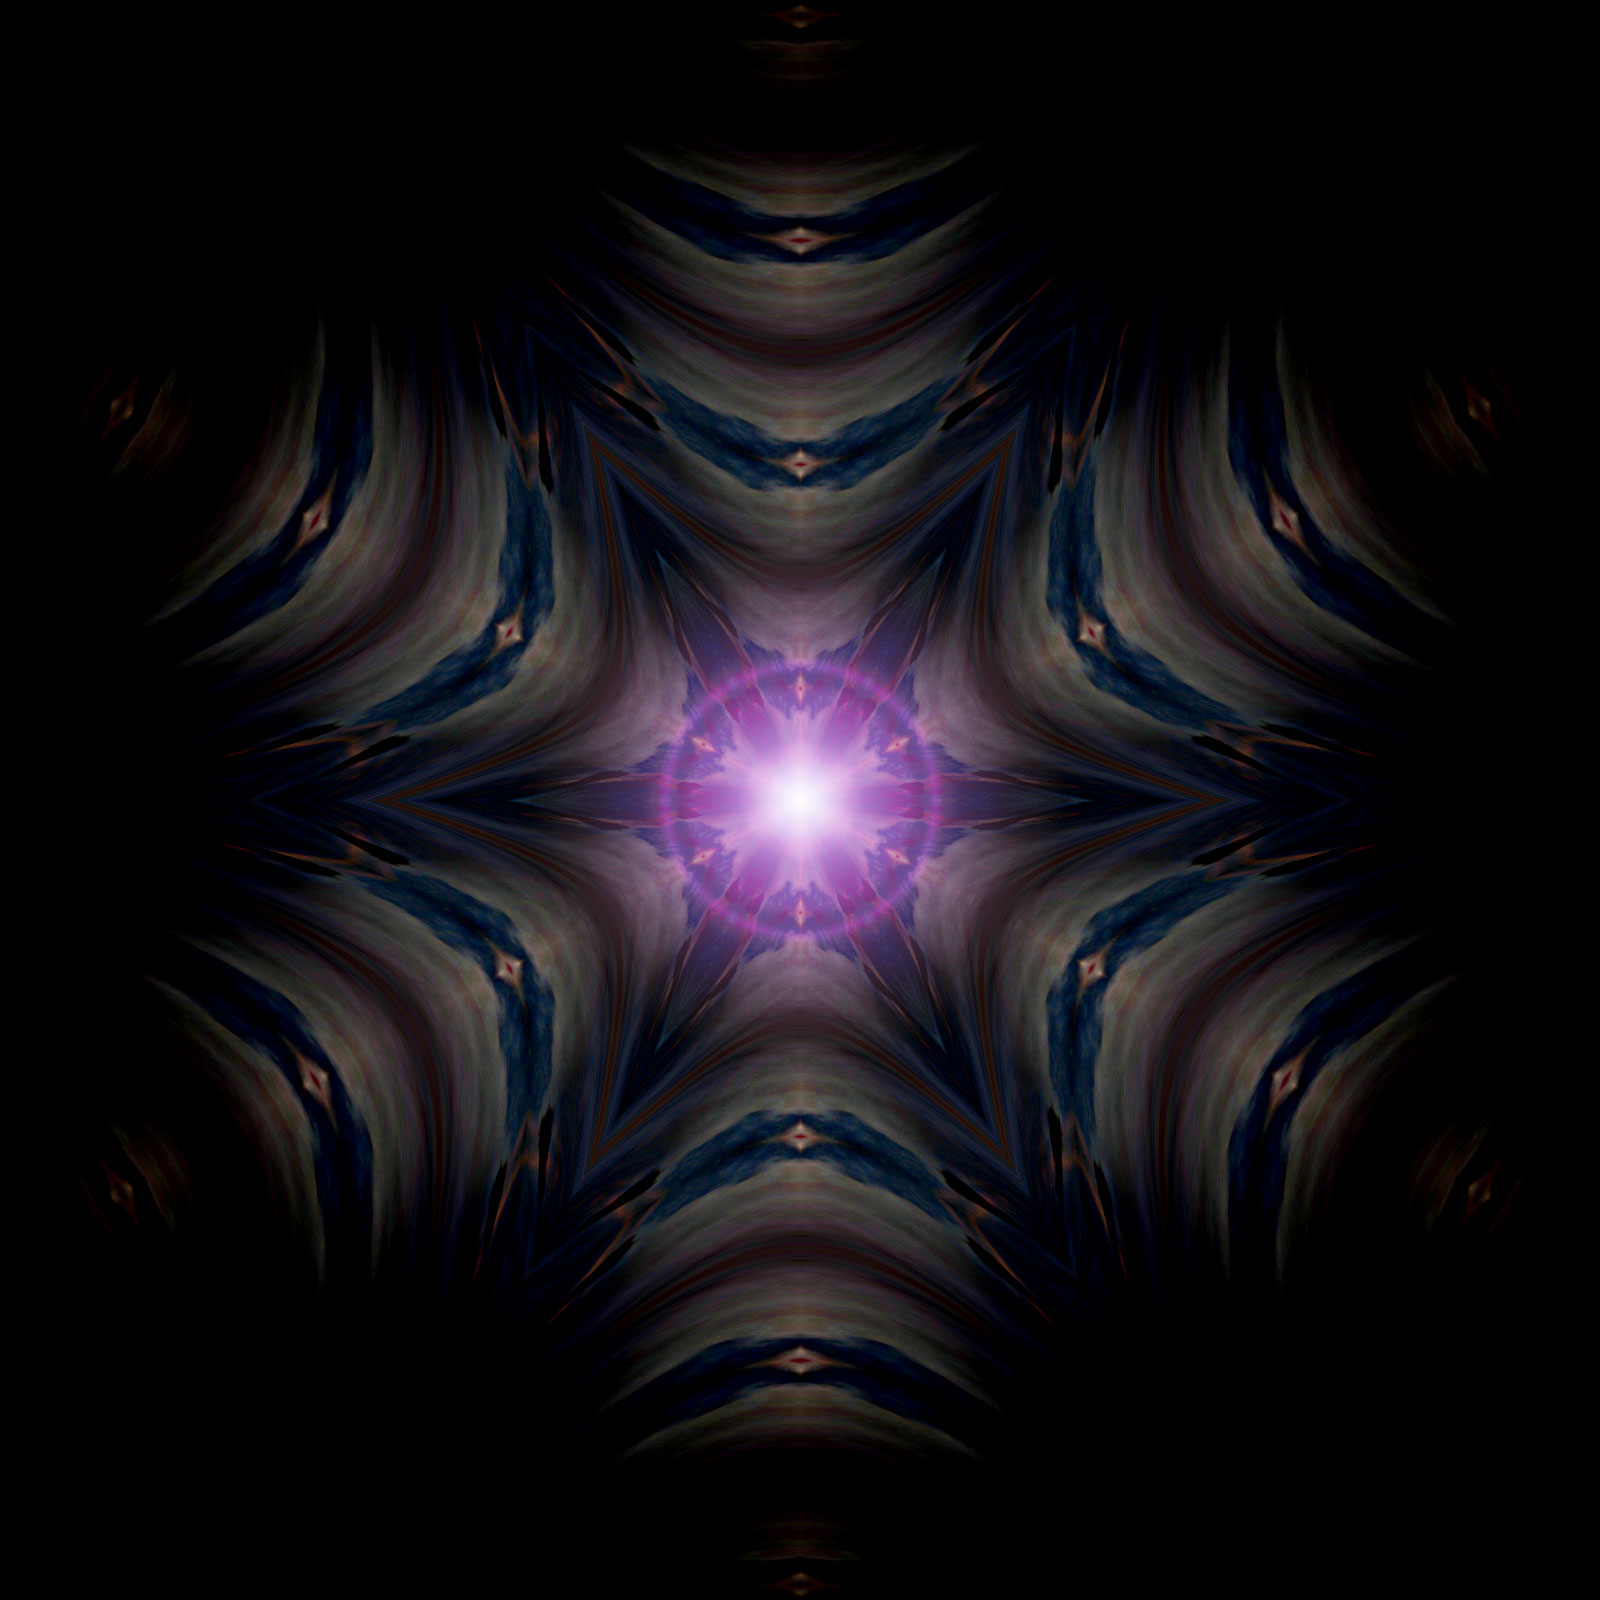
After |
|
Step 1
Start with a colorful photo or drawing. This photo is 1600 x 1200 pixels. You can achieve a similar effect with any colorful starting image.|
|
|
|
Step 2
I am going to use the Kaleidoscope filter to fill the entire image canvas with a symmetrical pattern based on these fish, but I want my canvas to be square, not rectangular. Choose Canvas Size to resize the canvas.|
|
|
|
Step 3
Keep the original image centered in the canvas, but increase the canvas' height to 1600 pixels to make it square.|
|
|
|
Step 4
After resizing the canvas.|
|
|
|
Step 5
Choose the Kaleidoscope filter.|
|
|
|
Step 6
Choose some parameters for the Kaleidoscope filter to produce a faux 3D effect.|
|
|
|
Step 7
After applying the Kaleidoscope filter.|
|
|
|
Step 8
The filtered image is a little blurry, so I choose the Unsharp Mask filter.|
|
|
|
Step 9
Choose the degree of sharpening to apply.|
|
|
|
Step 10
After applying the Unsharp Mask filter.|
|
|
|
Step 11
This is cool, but I'd like to try adding some effects to the edges with the Burnt Edges filter.|
|
|
|
Step 12
Here's the effect of applying the Burnt Edges filter.|
|
|
|
Step 13
I want to add a bright light emanating from the middle of this star-like shape. The Lens Flare filter will do this, but I want the effect to be constrained near the middle and gradually fade, so I'll first create a circular selection...|
|
|
|
Step 14
Now I'll feather the edges of the selection so that the effects I apply will fade near the edges of the selection.|
|
|
|
Step 15
Choose a radius of 150 pixels for the feathering.|
|
|
|
Step 16
The Lens Flare filter creates a yellowish-white glow, but I want a more bluish-purple light. I can adjust the color of the lens flare by adjusting the hue, but that will also affect the underlying pixels, so first I need to adjust their color in the other direction to compensate.|
|
|
|
Step 17
Adjusting the hue to compensate for the hue change I'll do later after adding the lens flare.|
|
|
|
Step 18
After the hue adjustment.|
|
|
|
Step 19
Now I'll choose the Lens Flare Filter.|
|
|
|
Step 20
Center the lens flare in the center of the image.|
|
|
|
Step 21
After applying the lens flare.|
|
|
|
Step 22
Now I'll adjust the hue to add a purple cast to the lens flare.|
|
|
|
Step 23
I'm adjusting the hue the same amount in the opposite direction as the pre-corrective adjustment I made in step 14.|
|
|
|
Step 24
After adjusting the hue of the lens flare.|
|
|
|
Step 25
Well, this is looking pretty good to me. I think I'll stop here.|
|
|
|
And here's the final image...
|
|
|