SketchRay Tutorials > Creating a color washed illustration from a photo
Creating a color washed illustration from a photo
This tutorial will show you how to transform a photograph into a drawing with a color wash taken from the original photo. Below are the before and after images for this tutorial. You can right click (windows) or ctrl-click (mac) on either of these images to download them at full resolution.
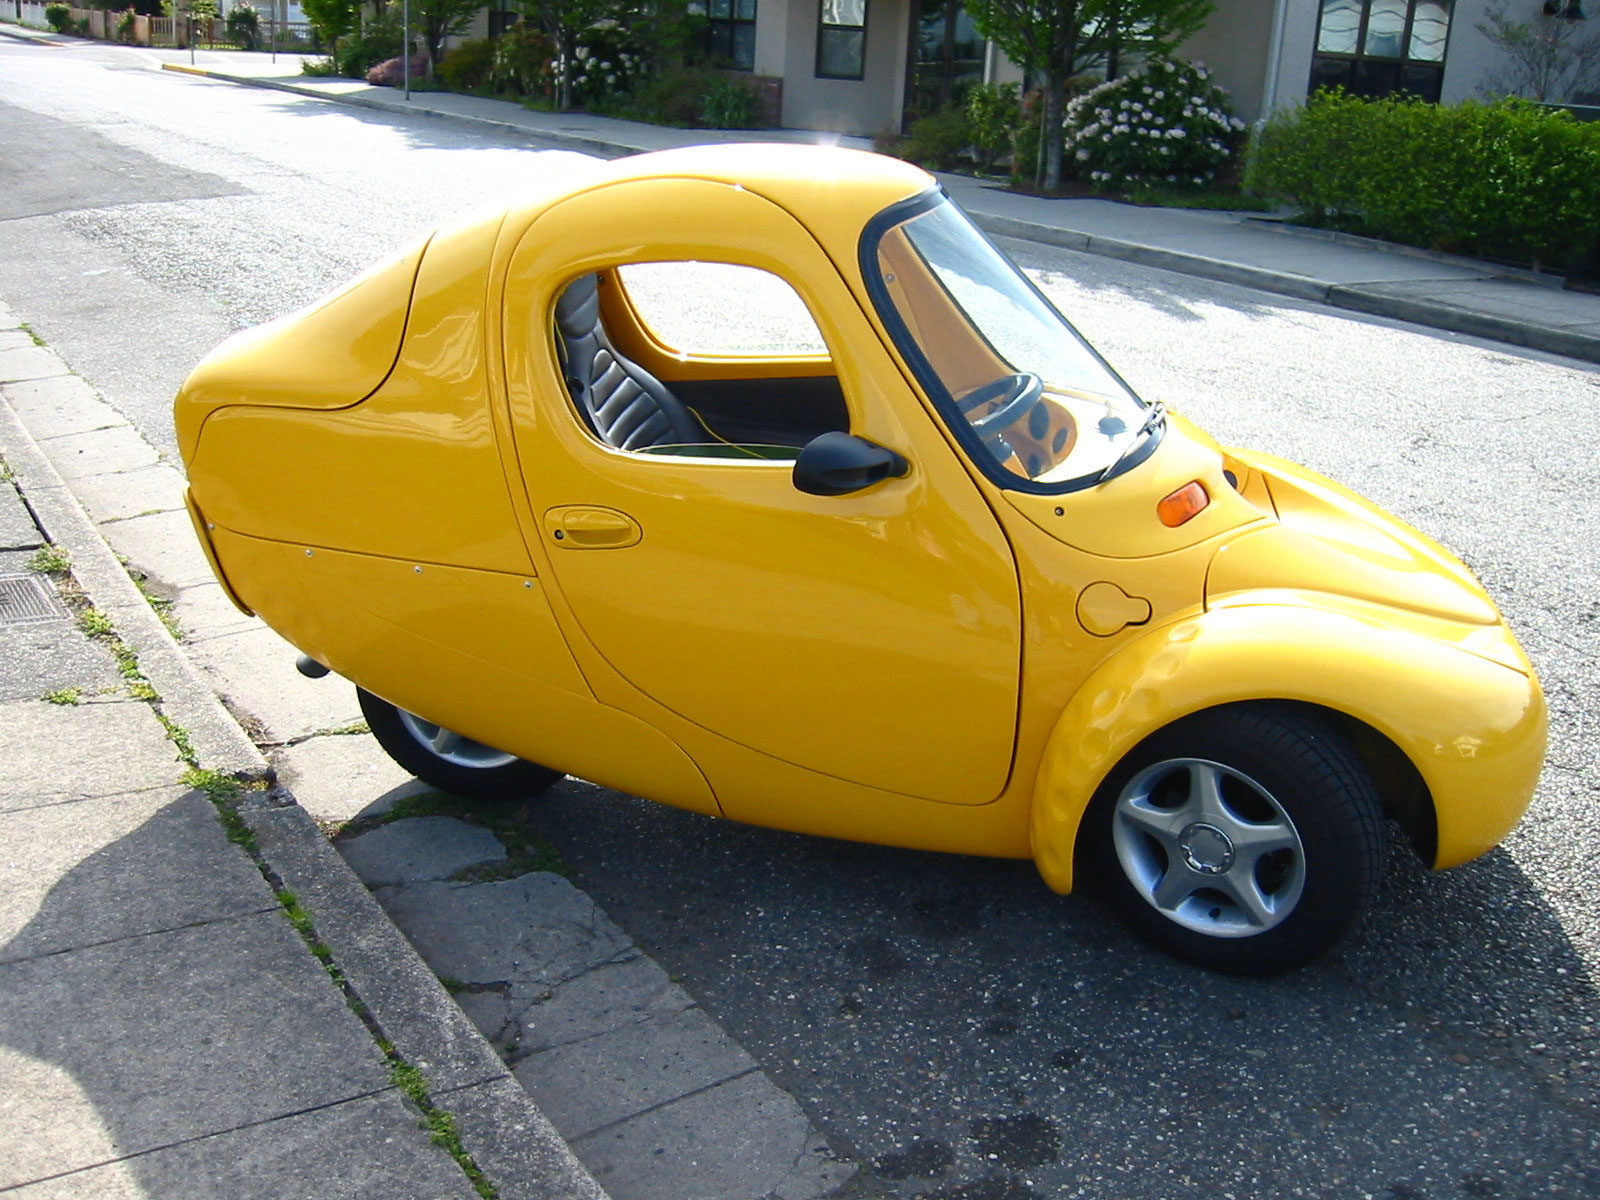
Before |
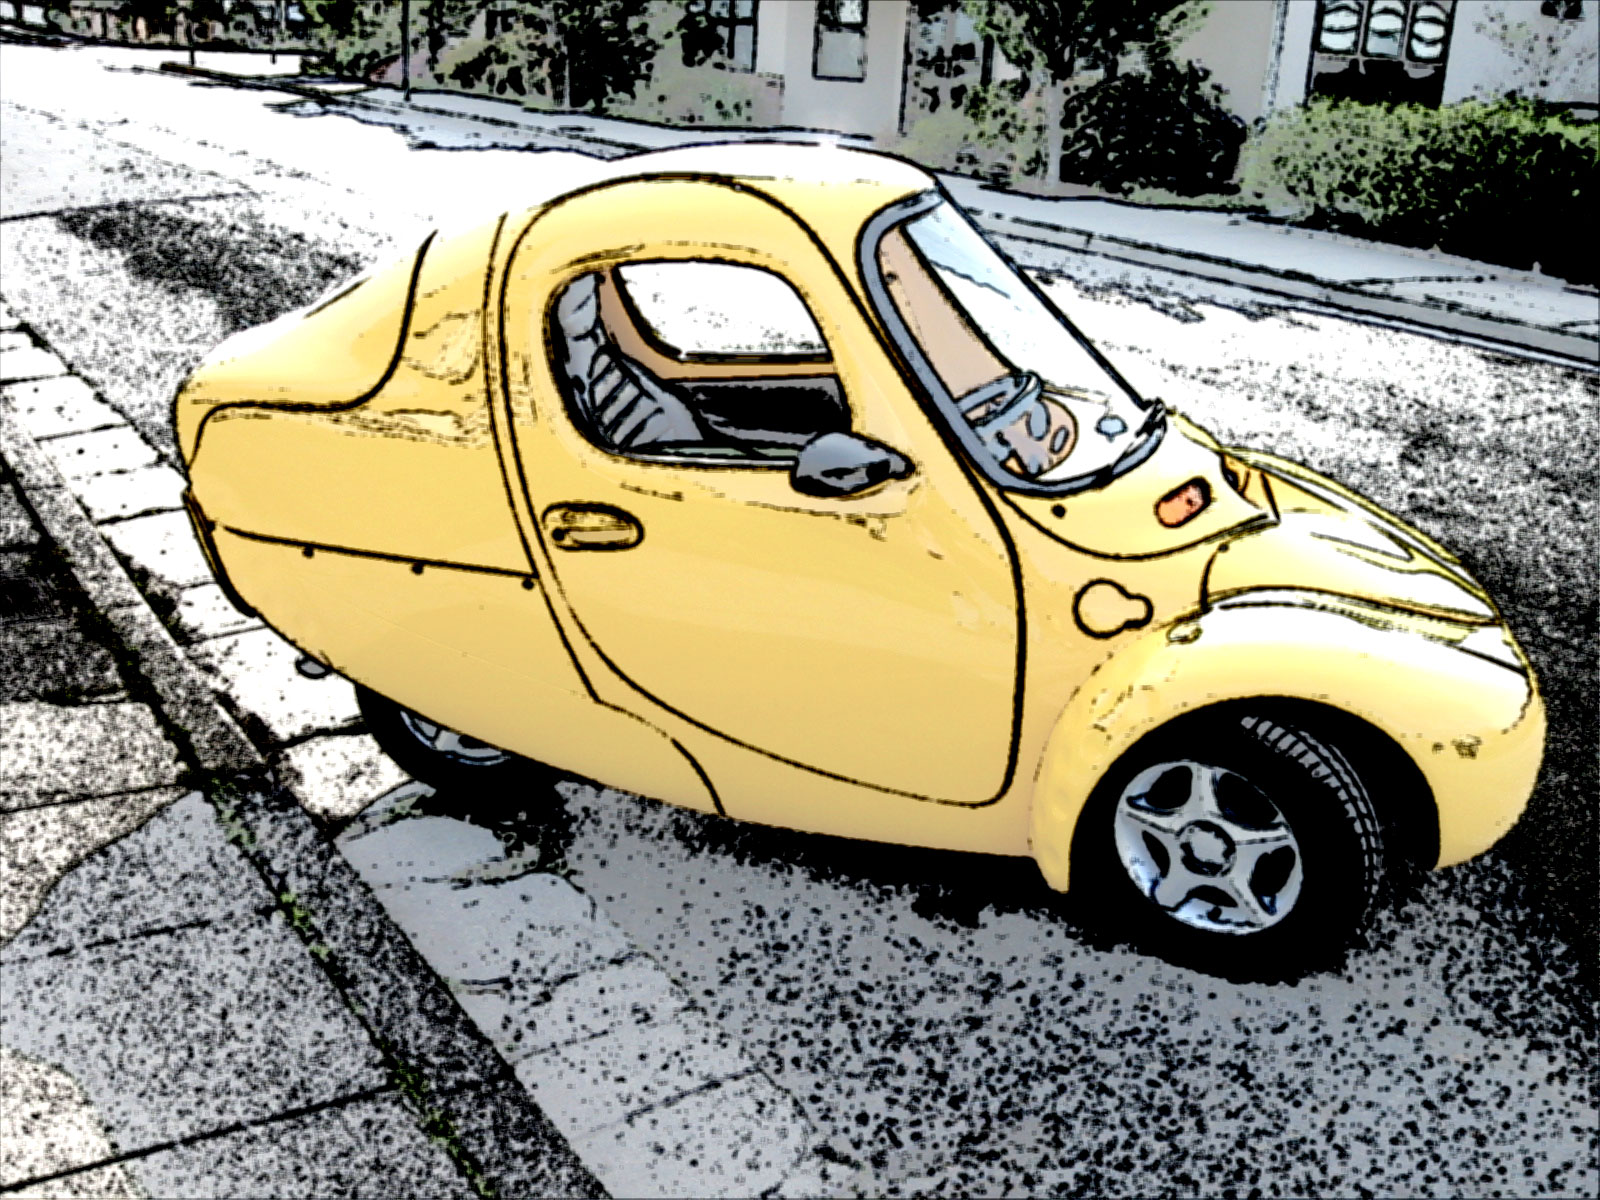
After |
|
Step 1
Start with the photo you wish to create your illustration from. Images with a focal object that has bright colors against relatively plain colored backgrounds work particularly well. Here we start with a photo of a cute little one-seater car I came across on a walk.|
|
|
|
Step 2
The basic idea of this image transformation is to create a copy of the photo, turn it into a black and white illustration, and then blend it with the original photo to create the color wash effect. First we'll create a copy of the photo in a new layer, so choose "Select All".|
|
|
|
Step 3
Copy the whole photo you just selected to the clipboard with the "Copy" command.|
|
|
|
Step 4
Use "Paste" to create a second layer containing the photo.|
|
|
|
Step 5
After pasting a second copy of the photo into a new layer. Note that the new layer is automatically created and selected by the Paste command.|
|
|
|
Step 6
Next we will use the "Charcoal" filter to turn the second copy of the photo contained in "Layer 1" into a black and white illustration.|
|
|
|
Step 7
Adjust the outline and shading parameters of the Charcoal filter so that you get a good line drawing without too much extra noise in the image. The filter preview is full size and you can click and drag on it to see the effect of your settings on other parts of the image.|
|
|
|
Step 8
Here's the black and white illustration created by the Charcoal filter.|
|
|
|
Step 9
Now we want to blend the black and white illustration with the colors from the original photo. Choose "Layer Properties..." from the Layer menu or simply double click on "Layer 1" in the layer list to open the properties dialog for Layer 1.|
|
|
|
Step 10
Here is the properties dialog for our illustration layer. We will blend it with the underlying photo by using the opacity control.|
|
|
|
Step 11
Use the opacity slider to make the illustration layer partially transparent and allow the colors from the underlying photo to partially show through from the background layer.|
|
|
|
Step 12
Here's the image after adjusting the opacity of Layer 1 to blend the two layers together. We could stop here, but the color wash effect looks a little pale for my taste, so we'll do a couple more steps to give it a boost.|
|
|
|
Step 13
In order to boost the vividness of the color wash effect, we need to combine the two layers together into one. Since there are only two layers in the image, we can just choose "Flatten Image" from the Layer menu. This leaves us with an image with just a single layer.|
|
|
|
Step 14
Now that both the illustration and the photo are combined in a single layer, choose "Adjust Brightness/Contrast..." from the Image menu.|
|
|
|
Step 15
To boost the vividness of the color wash effect, we can increase the contrast and decrease the brightness to compensate for the extra brightness caused by the change in contrast.|
|
|
|
Step 16
After boosting the color wash effect using the brightness/contrast dialog.|
|
|
|
And here's the final image...
|
|
|